3 Ways Your Redactions Are Still Leaking
Word black rectangles, Preview blur, Acrobat highlights — three popular 'redactions' that still leak your data. Here's how to spot and fix them.
If you type "redact PDF" into a search engine, the top results teach you three methods. All three are popular. All three routinely leak the thing you were trying to hide.
This isn't theoretical. Lawyers, government agencies, newspapers, and recruiters leak sensitive information every year because they used one of these methods and assumed the black rectangle meant the text was gone. The rectangle is usually just paint, and the text is usually still underneath it.
This post is a 10-minute audit you can run on your own documents. We'll show you the three most common fake redactions, the 60-second test that catches all three, and what real redaction actually requires. If you'd rather just check a specific file right now, drop it into /verify and we'll tell you what's still leaking.
Myth 1: "I drew a black rectangle over it in Word"
This is the most common failure mode, by a wide margin. It looks right: the sensitive text is covered, the document saves, the PDF opens with a neat black bar where the SSN used to be. Ship it.
What happened under the hood: Microsoft Word (and Google Docs, and Pages, and every other word processor) stores the document as text plus a separate layer of drawing objects. The black rectangle is a drawing object — a shape with a fill color. The original text is untouched in the document stream. When Word exports to PDF, it preserves the text and the shape, in that order. The shape covers the text visually. The text is still in the file.
Consequences: anyone who opens the PDF can press Ctrl+A (or Cmd+A) and Ctrl+C, paste into Notepad or TextEdit, and read every word of the "redacted" content. Searching the PDF for the redacted string still finds it. If the recipient uses any automated PDF processing — contract review, a lawyer's case-management system, a job applicant tracking system — the "redacted" text will be indexed and searchable.
How to check: open your redacted PDF. Try to select text over one of the black rectangles. If you can highlight it, that text is still in the file. Copy and paste it anywhere to confirm.
Why this keeps happening: word processors don't offer real redaction. There is no "properly destroy this text" button in Word or Docs. The best they can do is put a shape on top, which looks correct and isn't.
This is how court filings accidentally publish the names of cooperating witnesses, and how corporate redactions end up re-exposing the numbers the lawyers thought they had hidden. The people doing this are often sophisticated — lawyers, compliance officers, journalists. The tool just never gave them a real option.
Myth 2: "I blurred it in Preview / screenshot tool"
macOS Preview has a surprising number of markup tools: shapes, text, highlights, blur. None of them redact. All of them store the effect as an annotation that lives in a separate layer of the saved file.
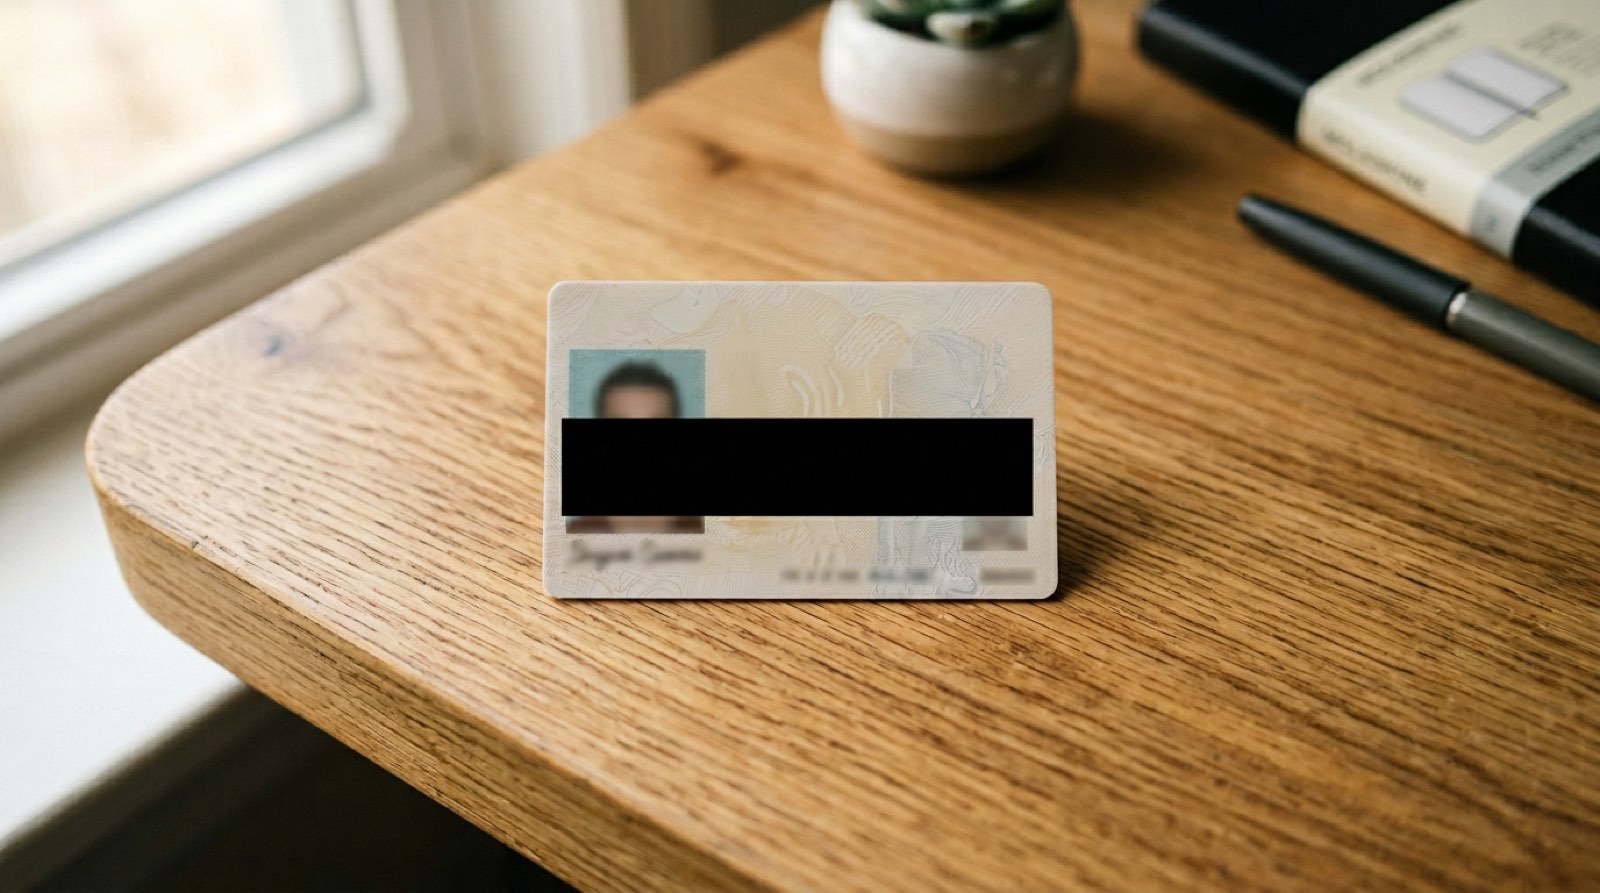
If you blur out your driver's license number in Preview and save, the file contains: (a) the original license image, and (b) a "blur this rectangle" instruction. A determined recipient who re-opens the file in Preview can click the blur, press Delete, and see the original number. Even if they only have a PDF viewer, many modern viewers will render the annotations as editable layers — or they can use a tool like pdftk to separate the annotations from the base image.
There's a subtler failure mode specific to blur. A Gaussian blur over a short numeric field — driver's license number, credit card last-four, phone number — is often reversible using basic deblurring techniques, because the set of possible values is tiny (10 per digit) and there are strong priors on valid combinations. Researchers have repeatedly demonstrated recovery of blurred SSNs and account numbers from newspaper photos and screenshots. Blur looks like it's hiding information; it's usually transforming it into a puzzle that's 30 seconds of work to solve.
Screenshot crops have their own problems. On macOS and iOS, the screenshot tool retains the original un-cropped image in the system clipboard and often in the scrollback buffer, meaning a recipient who gets the file plus any system-level messaging artifact can sometimes recover the pre-crop version. Screenshots also carry EXIF metadata — device model, screen coordinates, timestamps — that can narrow down who and where you are, even if the visible content is clean.
How to check: re-open the blurred file in Preview. If the blur is still a selectable object (you can click on it and the blue handles appear), it's an annotation, not a redaction. If you see an "Annotations" sidebar with entries, every entry is a potential leak.
Myth 3: "I used the yellow highlight tool in Acrobat"
Adobe Acrobat has a real redaction feature. It also has a yellow highlighter. The two look almost identical in the toolbar. One destroys text; the other paints over it visually. Users pick the wrong one constantly.
The yellow highlight — and the "draw rectangle" shape tool in Acrobat's comment panel — are annotations. They overlay the page. The text underneath them is fully selectable. Ctrl+A, Ctrl+C, paste into any text editor, and every "redacted" word appears. This is especially dangerous because Acrobat is the tool people trust for serious document handling; they assume the highlight does something different than it would in Word. It doesn't.
Acrobat's actual redaction feature lives under Tools → Redact. It requires a paid tier, it's several clicks deep, and it only works after you "Apply" the redactions — drawing the marks isn't enough, you have to finalize. Only after Apply does Acrobat rewrite the PDF content stream to permanently remove the underlying text. Before Apply, it's still just an overlay.
Even the real Acrobat redaction has gotchas. If you forget to also run "Sanitize Document" afterwards, metadata like the document's original author, revision history, and embedded fonts may still contain copies of the redacted text.
How to check: if you used the highlight tool, assume the document leaks and re-do it with a real redactor. If you used Tools → Redact and clicked Apply, your text is gone — but open the sidebar metadata panel and verify the document doesn't still list the original author or embedded comments.
The 60-second test that catches all three
You don't need to know which tool the redactor used. You just need to verify the output. Three quick checks, in order of speed:
Check 1: the copy-paste test. Open the redacted file. Select all (Ctrl+A). Copy. Paste into any text editor. If you see any of the text you thought you hid, the redaction is fake. This catches Myth 1 and Myth 3 immediately — they both preserve the text layer. Check 2: the re-open test. Open the file in the editor that was used to redact. If the black rectangle or blur is still a selectable, editable object, the redaction is an annotation and can be removed by anyone with the same tool. This catches Myth 2. Check 3: /verify. We built this tool specifically for this problem. Drop any PDF or image into it. It runs a full analysis in your browser — extractable text, annotation layers, PDF metadata, EXIF data, leftover bookmarks — and tells you what a determined recipient could still extract. It works on files redacted with any tool, not just ours. Takes about 10 seconds.The verifier runs entirely client-side, like the rest of RedactID. Your "redacted" file never leaves your device when you check it. If the file genuinely leaks, you know; you don't have to upload it anywhere to find out.
How real redaction works
The one thing that reliably destroys sensitive information in a document is pixel-level overwriting of a rasterized page. Rasterize the document (turn it from text-plus-layers into a flat image), paint opaque pixels over the sensitive regions, and export the result as a new file with no text layer, no annotations, and no source metadata.
That's what RedactID does. Every redaction is applied directly to a canvas in your browser: the original pixels are replaced, the canvas is exported as a new PNG or PDF, and there's no text layer or annotation layer in the output because we never included one. The output is structurally a collection of images, which is why /verify can confidently say "no recoverable text" when you check a RedactID output.
The whole pipeline runs in your browser — nothing uploaded, nothing stored on our servers. We wrote up the full architecture in Why We Never Upload Your Files, including the CI test that enforces the no-upload promise on every deploy. If you're going to redact sensitive documents, the tool you use should be one where the document never leaves your device in the first place.
What to do next
If you have a document you redacted recently and aren't sure about:
- Check it at /verify — drop the file in, get an answer in 10 seconds. Works on any redaction tool's output, not just ours.
- Redact a document the real way — free daily redaction in your browser, with the pixel-destructive pipeline. No upload, no account.
- Unlimited redactions — go beyond the daily limit with credit packs and unlimited plans.
The common thread across all three of today's myths is that they give you a visual feeling that the text is hidden while leaving the text perfectly recoverable. Real redaction is boring by comparison: pixels overwrite pixels, and the original is gone. Boring is the property you want.
Ready to Protect Your Privacy?
RedactID lets you redact sensitive information from documents without uploading them — everything is processed on your device.